Monday, September 26, 2011

2011 Halloween/Orange Challenge

This was Roselyn's project for the night. It is made from wood blocks and mostly involved modge podging. It was an attendent only project. On one side it reads "Halloween" and flip it over, wham, bam, it reads "Christmas". Who would ever have guessed those two words had the same number of letters. It also had little yellow stars on each end with wire attaching them to the wood blocks.


This was also a card that was a left over from last time. This was Roselyn's creation as well. What adorable little bug brads.


This was Janet's card for the night. She used a technique called kissing where she stamped the flower stamp with another stamp and then stamped the card with the flower stamp. It all came together to make one amazing card.

This was submitted by Ashley and was the only black cat card of the night. What a great little card. I love the sparkly and spooky stars and paper.


This one was actually a late submission from last time. I completly forgot who did it, so you'll have to add a comment and claim this one. Otherwise, I guess I can claim it - it's definatly nice enough that I would like to.


Robin did both the challenges too and created the spider (with adorable little googly eyes) and the orange bubble card. They are both just too cute - I might not be able to send these ones out.


Gretchen was the newcomer for the night, but despite being a newbie she really brought IT with this cute little card. I love the neon green detail on the ribbon. Welcome Gretchen.


Carrie's little card was just precious. The background paper was originally all orange, but we swiped it across a black ink pad and ended up with this really cool effect. We also used a very strange distresser tool to get the rough edges at the top and the bottom. Carrie has all the fun toys.


These adorable trick or treaters are Tami's design for the evening. On her original there were also candy corns; I went rouge and put them on the inside of my card.


Jennifer created this spooky little card. There were many options to choose from, including pumpkins and skeletons, but I loved this scary little ghost. Great use of chipboard here.


This card is simply to die for. I love the different way to use a button and ribbon. Great detail with the jute as well. Nice work (as always) Stephanie M.


My version really does not do this card justice!!! What an adorable stamp that Tina picked for us!!! I loved the little flowers.


This was Melanie's adorable card for the evening. I really liked hand-drawing on the little pumpkin eyeballs- thanks Mel.


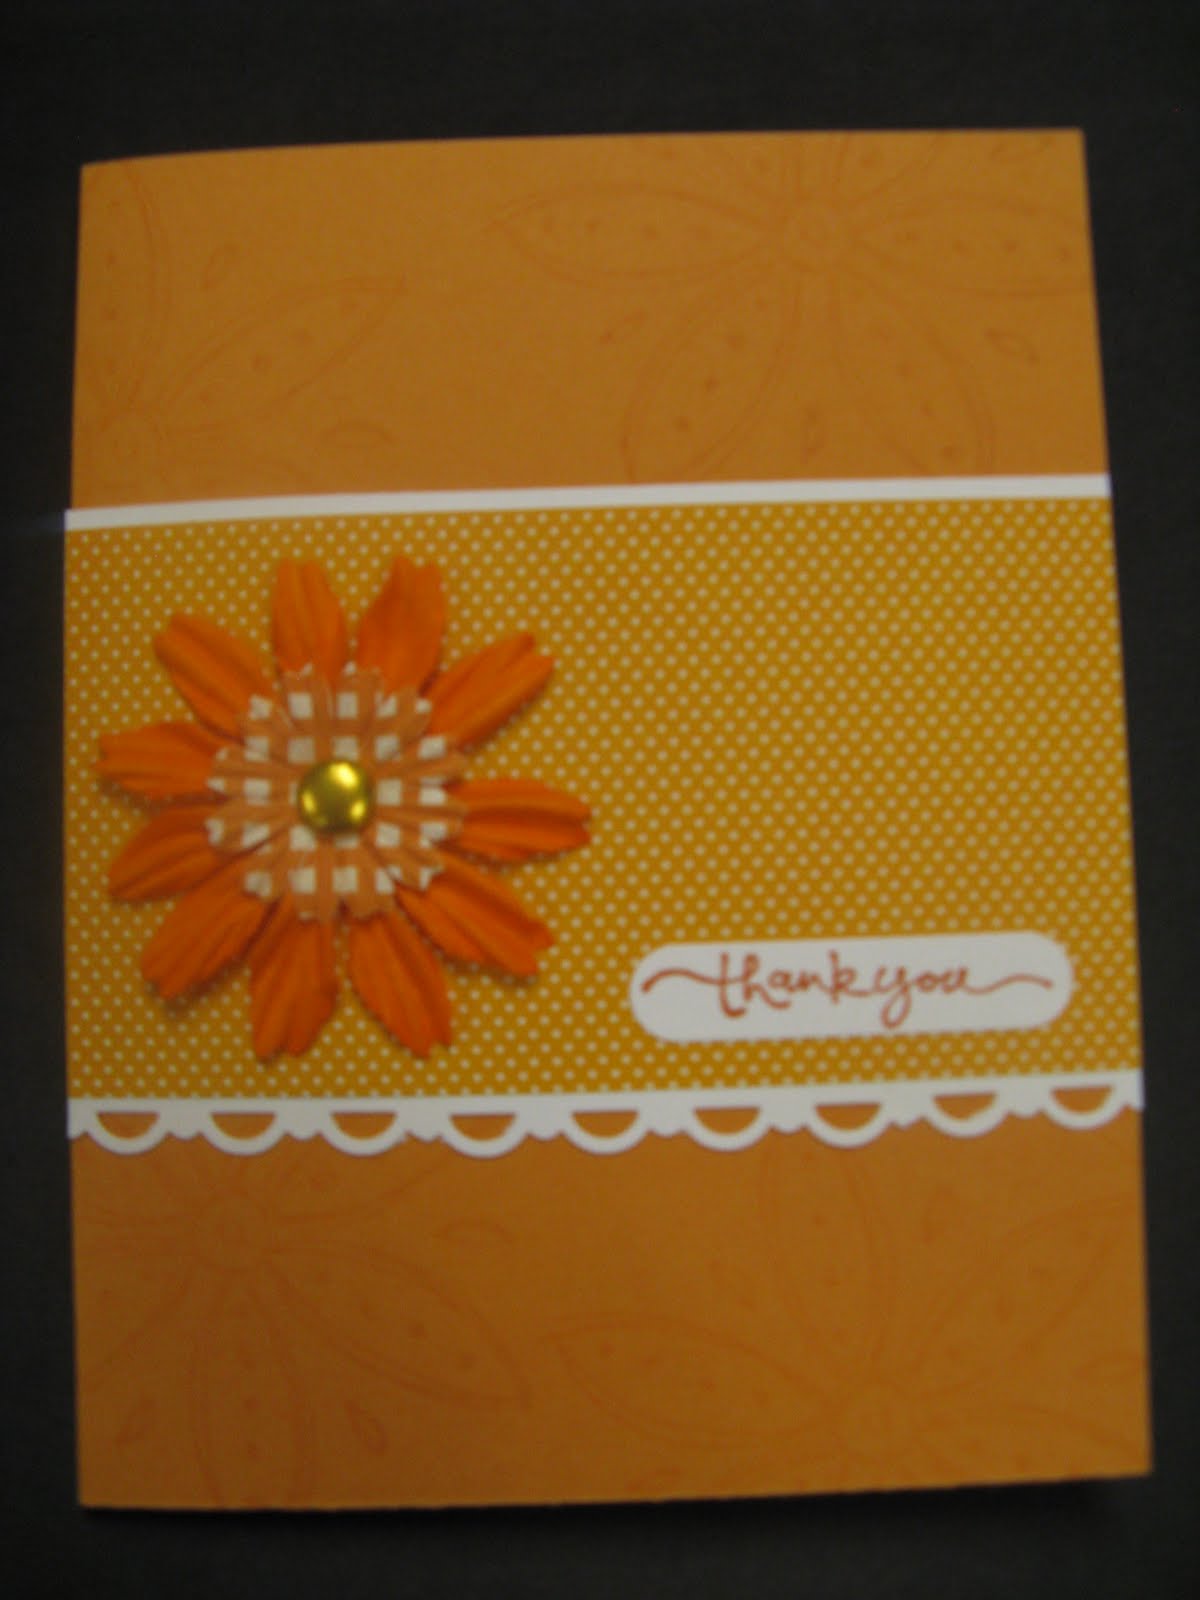
Our host outdid herself as usual. And these are only the cards!!! The little ghost is raised with diamond glaze, the pumpkin is outlined with brown ink, and the thank you card has a 3d flower. She did it all too" orange challenge, Halloween, and fall.


Stephanie D. went over the top with this card. First ever time at stamp club using puff paints. The inside reads "Boo" and "Happy Halloween".


Bats and pumpkins!!! Nicole outdid herself. She also had, it seemed to be the general consensus, the cutest "Happy Halloween" stamp of the evening. The bats have diamond glazed wings - great touch!!!



Thursday, September 22, 2011

Halloween/Orange Challenge Preview

This is my first project of five for those attending on Saturday. I wanted something for our Orange challenge and found these fun orange flowers that coordinate with the various shades of orange paper and ink (they match better in person than in this photo!). The card is stamped with the large flower from Doodle This -- one of my favorite sets.

This is my 2nd card for the night, orange-inspired and oh-so fall! Inspired by a card I saw online that I have been waiting for months to make. Another Doodle This stamp on here, I did say it was one of my favorites!


This is my last card and my Halloween offering for the night; I couldn't resist using this funny little ghost. It's a simple card, but has a wavy "have a spooky halloween" greeting inside that I love. It's hard not to use all the cute holiday stamps when we only have one season to use them!

Jennifer is unable to join us these weekend but these are her terrific offerings. Love the glittery images and the funky font for the spooky "Boo".


This is Stephanie M's card, nice use of the Big Shot plus coordinating ribbon and button embellishments. Love the color combo, very fall inspired!

Stephanie also (finally! ha ha!!) sent these simple and sweet cards for those who attended the June playdate.

Last year's cards

These are the projects from last September's playdate. Our theme was Halloween/Get Well:


This was Tami's darling card from last year -- I didn't get around to making it that night and found that if I held onto her supplies long enough, she'd take pity on me and give me her sample to get her stuff back! The plan worked!

Thursday, August 4, 2011

Stamping Playdate Schedule for 2011-12

Stamping “Rules”• Each person will create one card/project and prep all of the materials necessary for everyone else to create the same item in a workshop type format.
• If you are unable to attend but wish to receive all the projects from that night, please provide all who will be attending with one of your completed projects and we will collect all projects to be given to you later.
• Once everyone has confirmed their attendance, the hostess will send an email to let us know how many to prepare (both completed projects for others and those to be prepared that night).
• Upon arriving at the playdate, please file your premade cards for others to keep them from becoming damaged.
• This year we will also prep an extra completed card for each hostess to reward her hospitality!
• To keep it easy for each hostess, please bring an appetizer/drink to share.
• Bring your preferred adhesive to assemble the various projects that night.
• “Themes” are flexible, intended for guidelines and fun. Feel free to make whatever project you wish – the beauty of our group is that we appreciate each other’s creativity and projects! Any of the “challenges” can include any sentiment of your choice allowing for greater flexibility. We found that we didn’t need 15 different sympathy cards, for example.


Stampers:Ashley, Carrie, Jamie, Janet, Jennifer, Jill, Leanna, Melanie, Nicole, Robin, Roselyn, Stephanie D., Stephanie M., Tami, Teri, Tina


Month/Date -- Theme6pm Saturday September 24th -- Halloween OR Orange challenge
6pm Saturday October 22nd -- Thanksgiving / Fall OR Brown challenge
6pm Friday November 11th -- Christmas / Holiday OR Red challenge
SKIP DECEMBER
6pm Saturday January 7th -- Valentine’s Day OR Pink challenge
6pm Saturday February 4th -- Thank You OR Blue challenge
6pm Saturday March 10th -- Birthday OR Yellow challenge
6pm Saturday April 14th -- Green challenge OR feminine cards (1 Mother’s Day)
6pm Friday May 4th -- Animal challenge OR masculine cards
(1 Father’s Day)
6pm Friday June 15th -- Graduation/congratulations OR Bright color challenge

6pm Wednesday July 11th -- Jewel Tones OR Geometric challenge
6pm Wednesday August 8th -- Earth Tones OR Nature challenge


Tuesday, August 2, 2011

August 2011: Free Choice

This adorable little card was designed by Stephanie D. The little cat has a 3D stethoscope and nurse's hat. This card is sure to brighten the day of someone who is a bit under the weather. :)
This card was put together by Stephanie M. Even though there wasn't really a theme of summer, many of these cards seem to be light-hearted and fun in keeping with summer. This one is no exception.

This card was Ashley's contribution. It is so adorable with the little ball on the top and the punched edge at the bottom.

This was Roselyn's design (one of them). Again, you can really tell that summer inspired some of these cards. The inside of this little card read "to wish you...a great day". Also, very hard to see in this picture, but each little seed has diamond glaze, giving them a little pop.


This was Roselyn's second card for the night. The petals on this tree were something that was new to the stamp club: petal soft. It looks really awesome, but is really easy to use - just like adhering glitter.


Robin brought a friend: Emily, and she designed this card that also draws on the elements of summer for inspiration. The little bugs are adorable and the handstamped dots really make this card special. Hopefully we will see Emily again.


This card, also incredibly whimsical and summery, was designed by Leanna. This was a Cricut card, but the actual flowers themselves were stamped. The center of the flower were raised hole punches. Very creative.


Again summer is evident in this adorable design. This one was from Janet and might be the first card that we've done that has been interestingly shaped. I love the Cricuted embelishments as well.


It's not exactly a bird on a branch, but close enough. Carrie made certain to uphold the tradition this time with this sweet little owl. The coolest part of this card was that the owl stamp coordinated with an owl punch, so the creators didn't have to cute around the little owl. What will they think of next.


Not only is this card adorable, we all got to learn how to use a new machine/technique called the "Big Shot" in order to add texture to the upper half of this vibrant card. I accidently inversted the textured polka dots, but you can still get the idea. Summer is evident again in these vibrant colors. Great work Jennifer.


This card is so sweet. It was put together by our fearless leader Teri. Some really great details on this card are the stamen of the flowers that are slightly raised using diamond glaze and the chalking on the flower and around the edge of the "friendship" sentiment.


This adorable little origami card was Teri's second design for the evening. The folding on this card and the ribbon around the back were the best parts.

The sentiment was also especially sweet. As always, Teri has outdone herself (and all of us). :)


I have to admit that, while I love everyone's cards equally, this was my favorite for the night. This was one of the four that Melanie designed for the evening (despite the fact that she was leaving for a vacay in Spain the next day). I love the Cricut and she included her signature rhinestone. Too adorable for words.


This little card was also Melanie's design. I just love it - of course. Great combination of colors and papers. She is so creative.


Melanie went Create-a-Critter crazy this time. This little panda is too cute!!! I can only aspire to use my Cricut as adeptly as Melanie does.


This was the final Cricut, Create-a-Critter from Melanie for the evening. The little animal is just too cute for words!!!


Last, but certainly not least, is Robin's contribution for the evening. This little owl is just too cute for words (but I'll try anyhow). Great color combination and adorbale stamping. Robin is so creative. I adore it!!!

Thursday, July 7, 2011

Shower

This was the project for the evening - adorable little hair pins for the sweet girl in your life or for yourself. These were designed by Roselyn and are being modeled by Robin here. They are super easy to make - all you need is a rhinestone and some crepe-backed satin.

So cute!!! This was another one that Melanie brought from the previous session. I love the scalloped border.


This was actually Melanie's project from last time - but it still fits perfectly with the shower theme. The rhinestone is there - try to find it.


This card was sent by Stephanie from Texas. What great detail on the coloring of the baby stroller.


These are Robin's two cards - one for a boy and one for a girl. They are a card within a card - what a super creative idea Robin. This was our only Cricut card for the evening.


This was Tami's card. The little turtle and the ribbon on this one make it super cute.


This was Melanie's card. The cutest part was the clouds, which we each did on our own using a scalloped edge and blue chalk. There are Melanie's signature rhinestones on the bottom left of this card.


This was Ashley's card for the evening. It was so cute with the little rhinestones at the base of each flower - nice work Ashley!


I think this card was Melanie's. It was so cute with the opposing punched white hole for the elephant and the raised sentiment.


This was Carrie's card for the evening. It originally said "baby", but I changed the sentiment. This one was SO cute - the best detail was the fact that all of the banner is actually strung together.


This was Janet's card for the shower theme. The little diaper with safety pin was so cute - it was made out of felt.


This is Roselyn's second project of the night - a girl card. The best part of this one are the adorable wheels that go on the baby carriage.


This is Roselyn's boy card for the night - it is super easy given that the little outfit is actually paper and not a stamp.


This is Stephanie's adorable card. The front of the card has a hole punched into it that shows the cute flower on the inside.


These are Teri's fourth and fifth cards of the night. The alien babies. :) The stamp set for this one was so cute and as the night progressed, they quickly became the alien babies.


This was Teri's third card of the night - the watercolors on the bear worked perfectly. It's really hard to see in this picture, but the back of this card is Versamarked and has tiny little stars. The best part of this card is the tiny star brad in the upper right hand corner.


This was Teri's second card for the night - it was so cute - notice how the paper and the stamping coordinate perfectly.


This was Teri's wedding shower design - the colors are fabulous - greys and black. there is a ton of glitter that you can't see as well that really makes this card pop.